
Why Consider Wall Panelling?
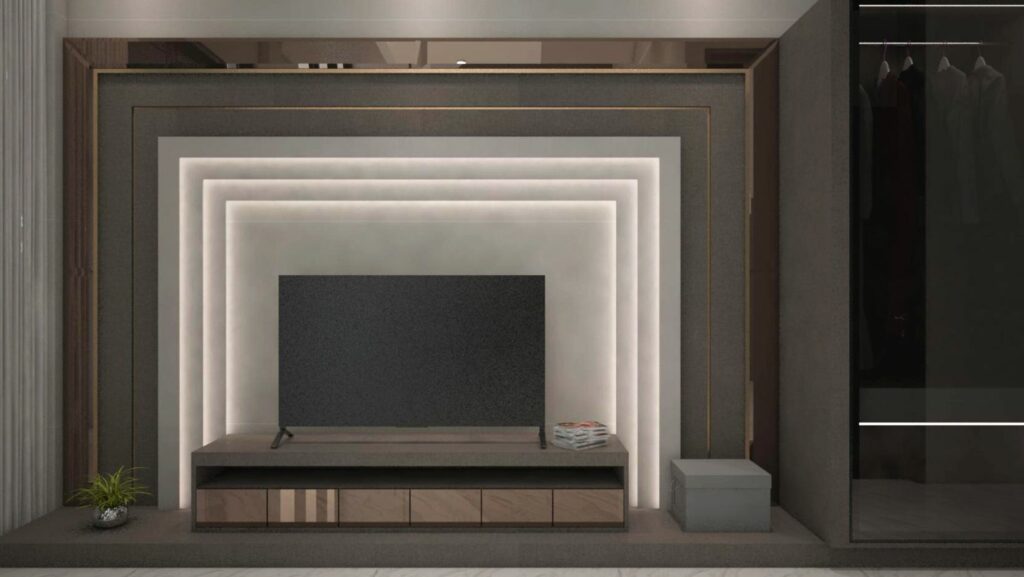
Recently, wall panelling has surged in popularity across interior design landscapes, admired for its chic adaptability and functional benefits. Opting for wood wall panelling can significantly enhance the aesthetic of any room, offering both traditional charm and a touch of contemporary flair. Not only does it conceal imperfections on your walls, but it also bolsters insulation and adds structural integrity. From cozy reading corners to striking feature walls, the right panelling can truly revamp your space.
What’s the best part? It’s completely doable as a weekend project. So, are you ready to dive in?
Choosing Your Style
First things first: decide on a panelling style that complements your space.
Here’s what’s on offer:
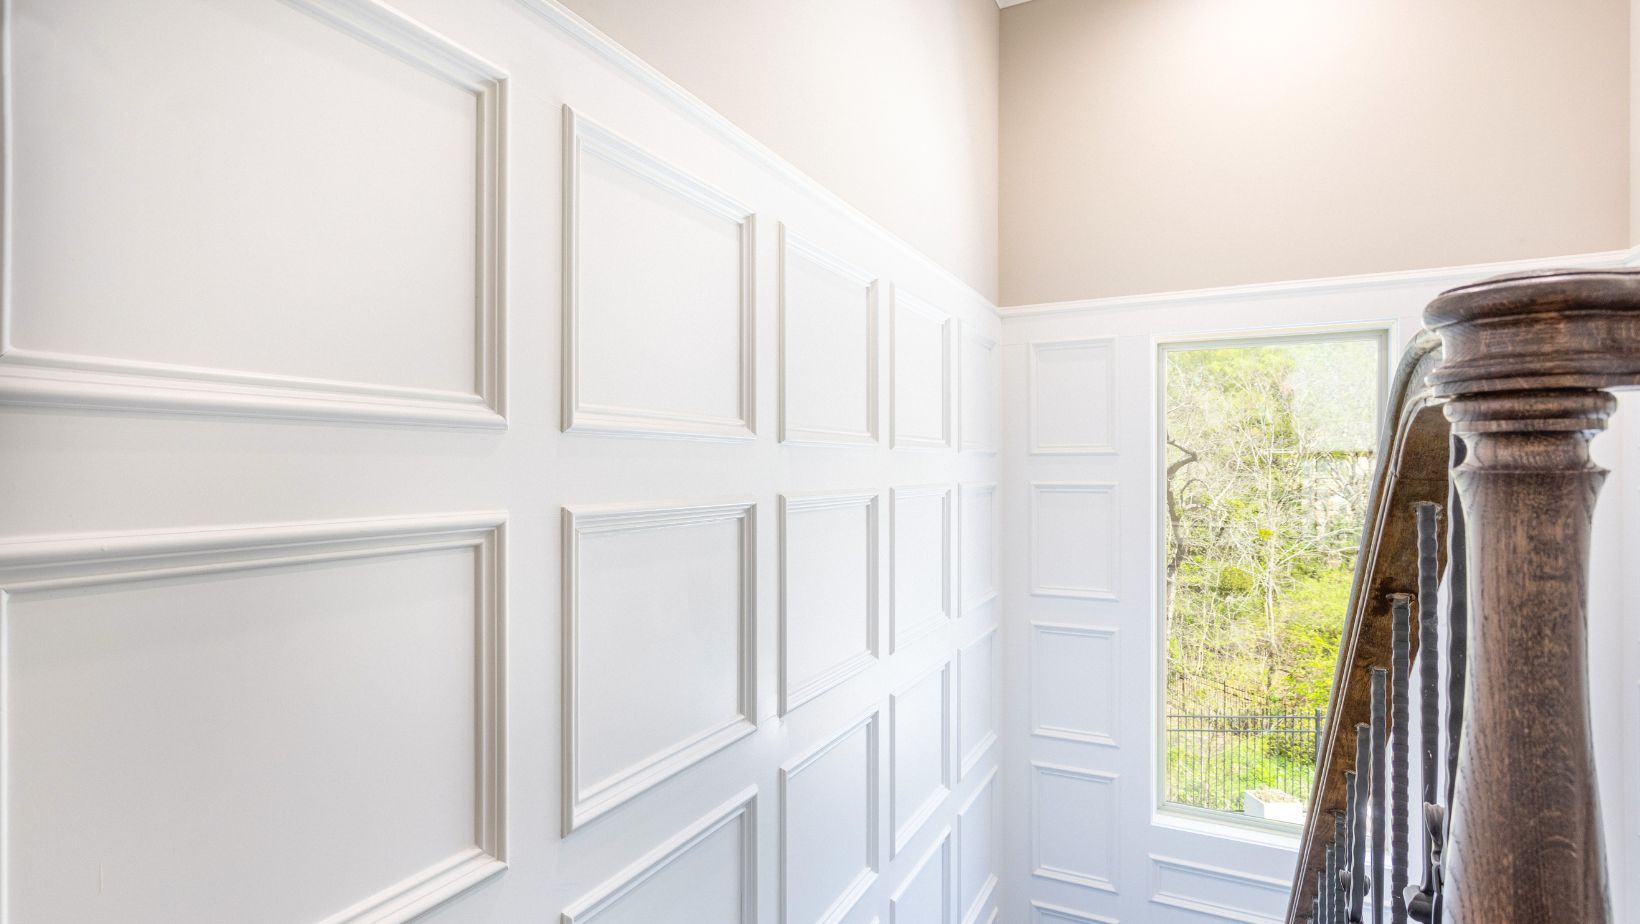
- Shaker-style panelling features understated, clean lines that blend seamlessly into both classic and modern decors—ideal for sprucing up living rooms and bedrooms.
- Beadboard panelling exudes a quaint, rustic charm with its vertical lines, perfect for crafting a warm, cottage-like atmosphere in kitchens or bathrooms.
- Board and batten paneling makes a bold statement with its defined geometric patterns, suited for eye-catching hallways or accent walls.
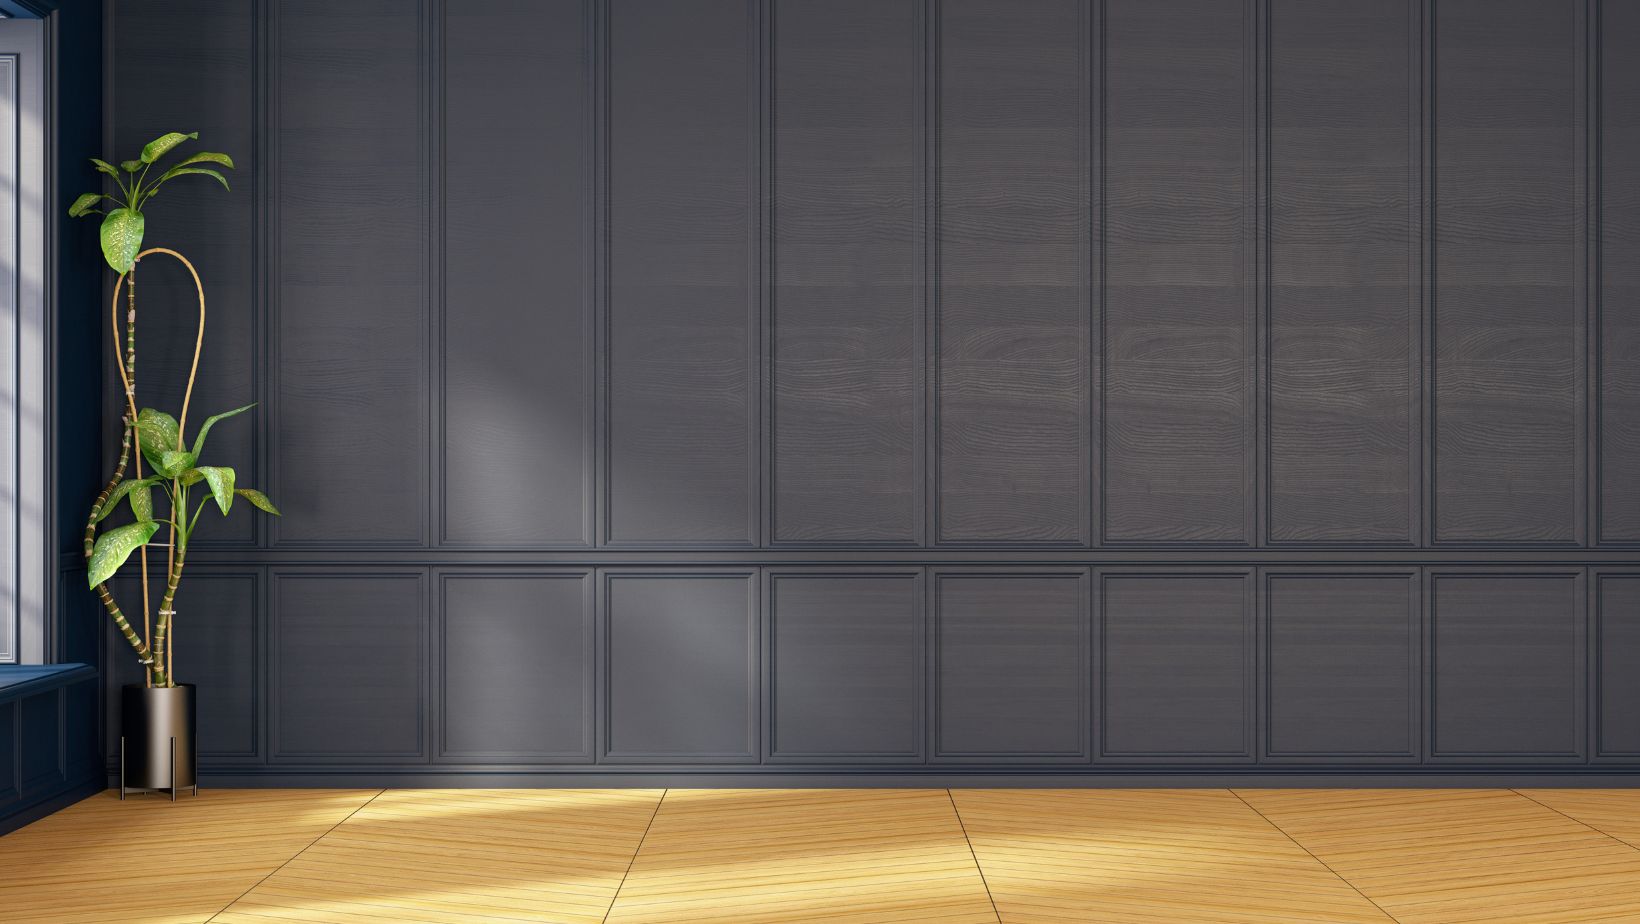
- Slatted panelling delivers a minimalist, modern look and can enhance the acoustics of a room, making it a fantastic choice for contemporary living areas.
Once you’ve chosen your style, it’s time to gather your materials.
Preparation and Materials
- Measure and Plan — Carefully measure your wall and plan your layout. You can draw it on paper or use masking tape to outline it directly on the wall. Accuracy is key, especially if you’re creating a grid pattern.
- Gathering Supplies — Medium-density fibreboard (MDF) is widely favored for its cost-effectiveness and ease of use. You’ll need:
○ Pre-cut MDF panels, or panels you can cut to size
○ A strong adhesive, such as No More Nails
○ Decorator’s caulk
○ Primer and your choice of paint
○ A saw (a miter saw is ideal, though a hand saw will suffice)
○ Sandpaper
○ A spirit level
○ A caulking gun
○ Paintbrushes and rollers
- Prepare the Wall — Remove any nails or hooks and sand down uneven areas to ensure a clean, smooth surface for the adhesive.
Installation Steps
- Cut Your Panels — Based on your measurements, cut the MDF to the required sizes. A miter saw will speed up the process, but a hand saw is just as effective if used with care. Smooth any rough edges with sandpaper.
- Attach the Panels — Apply adhesive to the back of each panel and press them firmly against the wall. Start with the vertical pieces, using a spirit level to ensure they’re perfectly straight. Follow with the horizontal strips, ensuring they are evenly spaced.
- Fill Gaps — After the adhesive has set, fill any seams with the decorator’s caulk and smooth it over for a polished look.
- Prime and Paint — MDF tends to absorb the paint, so start with a primer for an even finish. Then, apply your chosen paint color, using a brush for the edges and a roller for larger areas. Two coats will usually provide a sleek, finished appearance.
Maintaining Your Panelling
Take a moment to admire your work! Keep your new wall paneling looking its best with regular dusting and the occasional wipe-down with a damp cloth.
If you spot any scuffs, a quick touch-up with paint should do the trick.
Final Thoughts
DIY wall paneling is a cost-effective and stylish way to transform your home’s interior. Whether you’re drawn to classic elegance or a sleek, modern look, paneling offers a versatile solution. If you’re new to DIY projects, it might be wise to watch a few tutorial videos first. But be warned: after you’ve paneled one wall, you might find yourself planning the next!